THE FOUNDATION YEARS
With this year’s planting season now in full swing, our attention in the Vineyard Services department will soon turn to taking these newly planted vines through their foundation years (years 1, 2 & 3) to their first, but small harvest.
It’s an exciting time for both the customer and us, a dedicated viticultural support company. Whilst some plantings will be for established clients who know exactly what to expect from the varieties being planted and on sites they are already very familiar with, for the newcomers and those diversifying into grapes, (whether this be as a grower or as a producer) it is the culmination of months, sometimes years of work and due diligence. Including isolating the best fields and selecting the most appropriate varieties/clones/rootstocks to complement the anticipated microclimate and the end destination of the fruit. It’s a journey which requires patience as those first grapes are a few years off, but I’ve set out some points below for each season as to how to get there in good shape.
The overriding thread throughout these first three years is creating the best environment for the plant to establish a significant root system as well as a strong trunk. We cannot stress the importance of getting this right as soundly established vineyards are those that have the building blocks to crop reliably and be healthy, (providing you continue to look after them of course).
Year 1
◆ Prepare the topsoil and the subsoil region so as not to inhibit development of vine root systems ready for planting.
◆ In consultation with your nominated agronomist, make necessary ameliorations to the land. A strong relationship with an experienced BASIS accredited agronomist is incredibly important.
◆ Remove unwanted competition from weeds on or around the vine. Reducing competition in those early years is important for the vine to access all available nutrients and water.
◆ Use a grow guard. These create the perfect microclimate to aid growth and keep pests from nibbling.
◆ Use a tutor, (preferably metal). These will give the vine something strong to support itself with.
◆ Shoot selection! Reducing the number of shoots to two midway in the first season will help direct the vine’s energy into just these shoots.
◆ Install the trellis in the first season. Whilst it is tempting to leave this until the following season, it is best done in this first year. The vines will need the trellis fairly early in the second season, and having the trellising in situ means you can conduct activities such as seeding the alleys.
◆ Install deer fencing if required. Whilst nibbling deer are unlikely to kill the vine in the first year it is certainly not encouraged.
◆ Fungicide applications. Once the vine is out of the tube, apply a handful of crop protection sprays in the first season to help prolong the growing season for the vine.
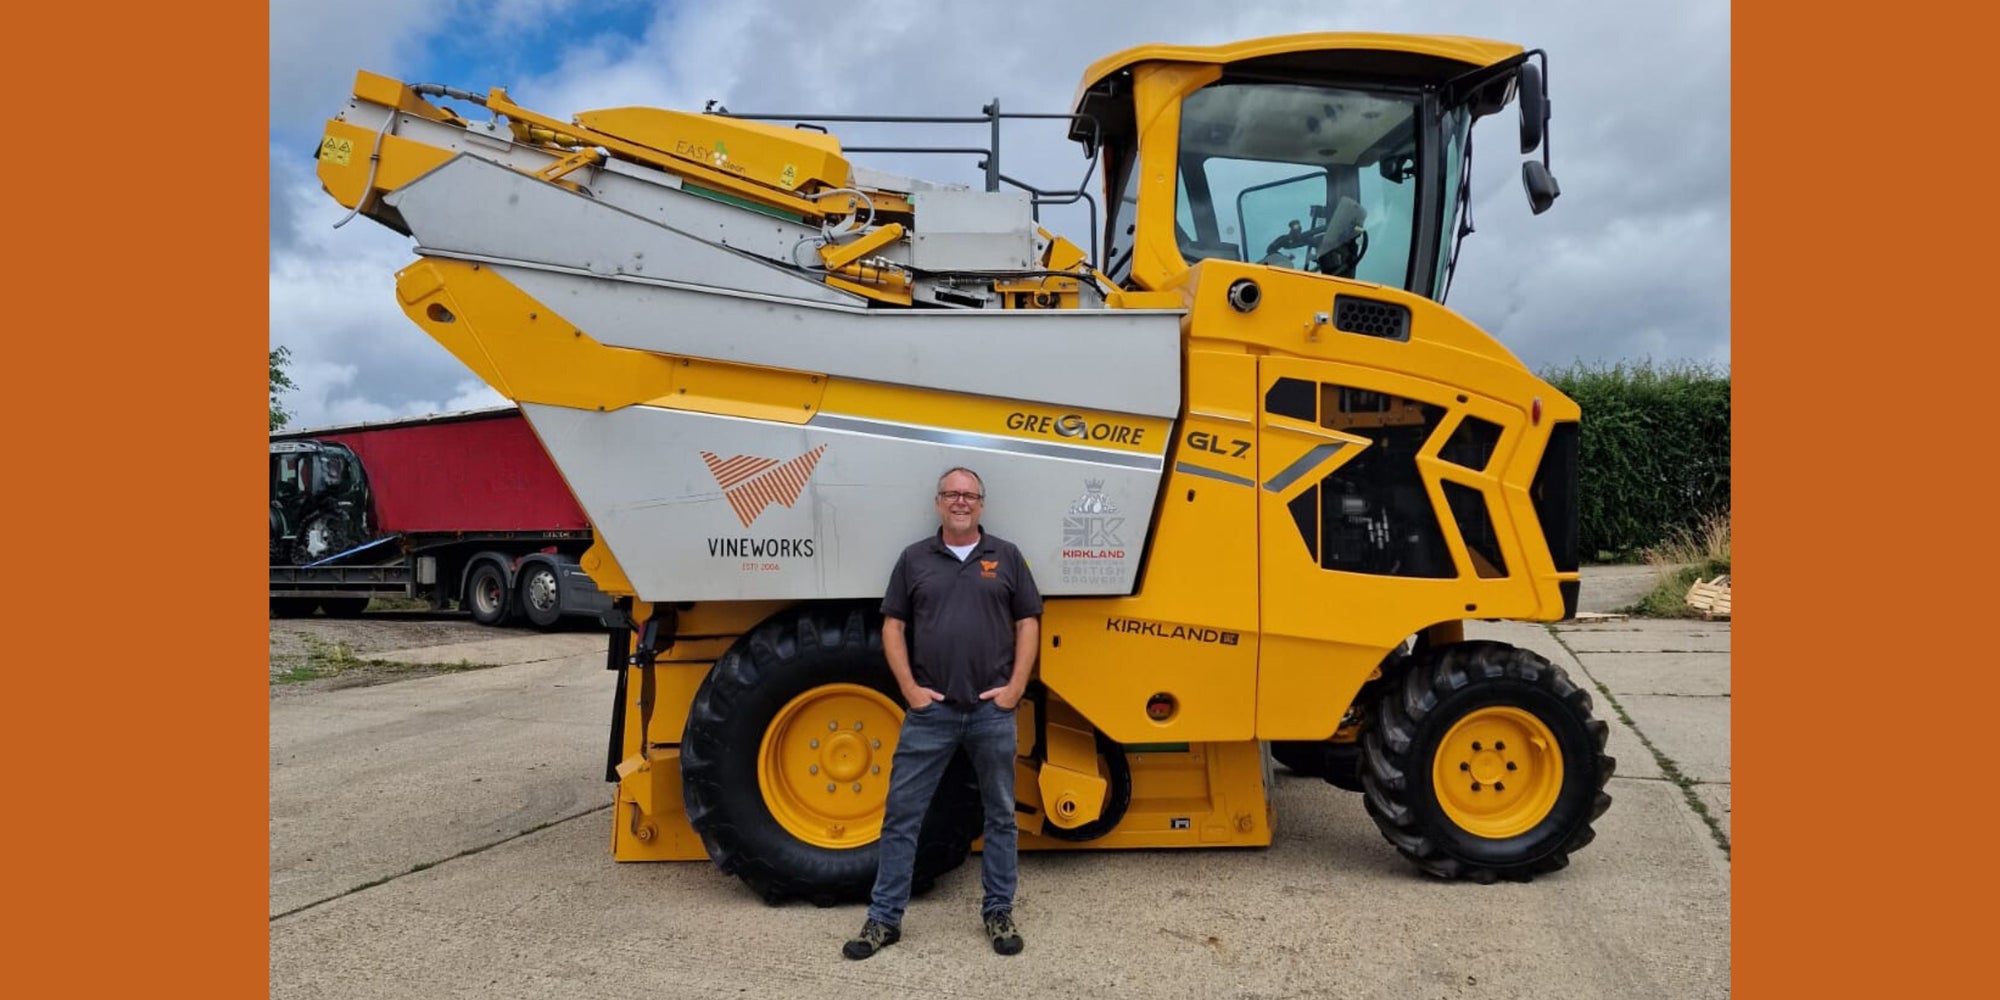
◆ Purchasing machinery and kit - often overlooked but important. If the tools are not on site, you have no means to complete the task. If you're not purchasing equipment, then lining up an experienced contractor with the appropriate kit is the next best solution.
◆ Install a weather station. Collection of data is important for accurate disease modelling as well as understanding performance within the vineyard.
Year 2
◆ Prune your vines back to two buds. Pruning hard like this will direct all the energy of the vine into just those two shoots. These will ultimately form the two options for the vine’s trunk.
◆ Continue as per previous season with removal and reduction of unwanted weeds from on/around the vine.
◆ Watch out for frost! One of the negatives of opaque grow guards is that sometimes unwanted cold air can occasionally get trapped in the tubes. Make sure your frost defence measures are in place in advance of such events.
◆ Shoot selection! Remove stunted and short growth and focus on choosing two of thestrongest shoots to become your choices for a trunk at next year’s pruning. ◆ Train the shoot growth onto the trellis system, tucking in regularly.
◆ Monitor for pests and diseases. Regular crop walking is essential for identifying diseases, pests, and plant deficiencies.
◆ Fungicide applications. Follow your spray program as set out by your agronomist.
Year 3
◆ At pruning, select the strongest and straightest cane as the trunk and top at just above the fruiting wire.
◆ Continue as per previous season with removal and reduction of unwanted weeds from on/around the vine.
◆ Keep the grow guard on! Whilst the temptation with now having a trunk is to take the guards off, they are best left on for one more season until the trunk is fatter and stronger.
◆ Affix the new trunk to the metal tutor. Using band ties, this will help maintain the integrity and prevent bending and breakages.
◆ Monitor for pests and diseases. Regular crop walking is essential to identify diseases, pests and plant deficiencies.
◆ Bud rub. Once frost risk has passed, remove all unwanted buds from the top of the grow guard to the base, leaving you with a group of buds to form the crown of the vine.
◆ Train the shoot growth that emerges from the ‘crown’ area of the vine onto the trellising system.
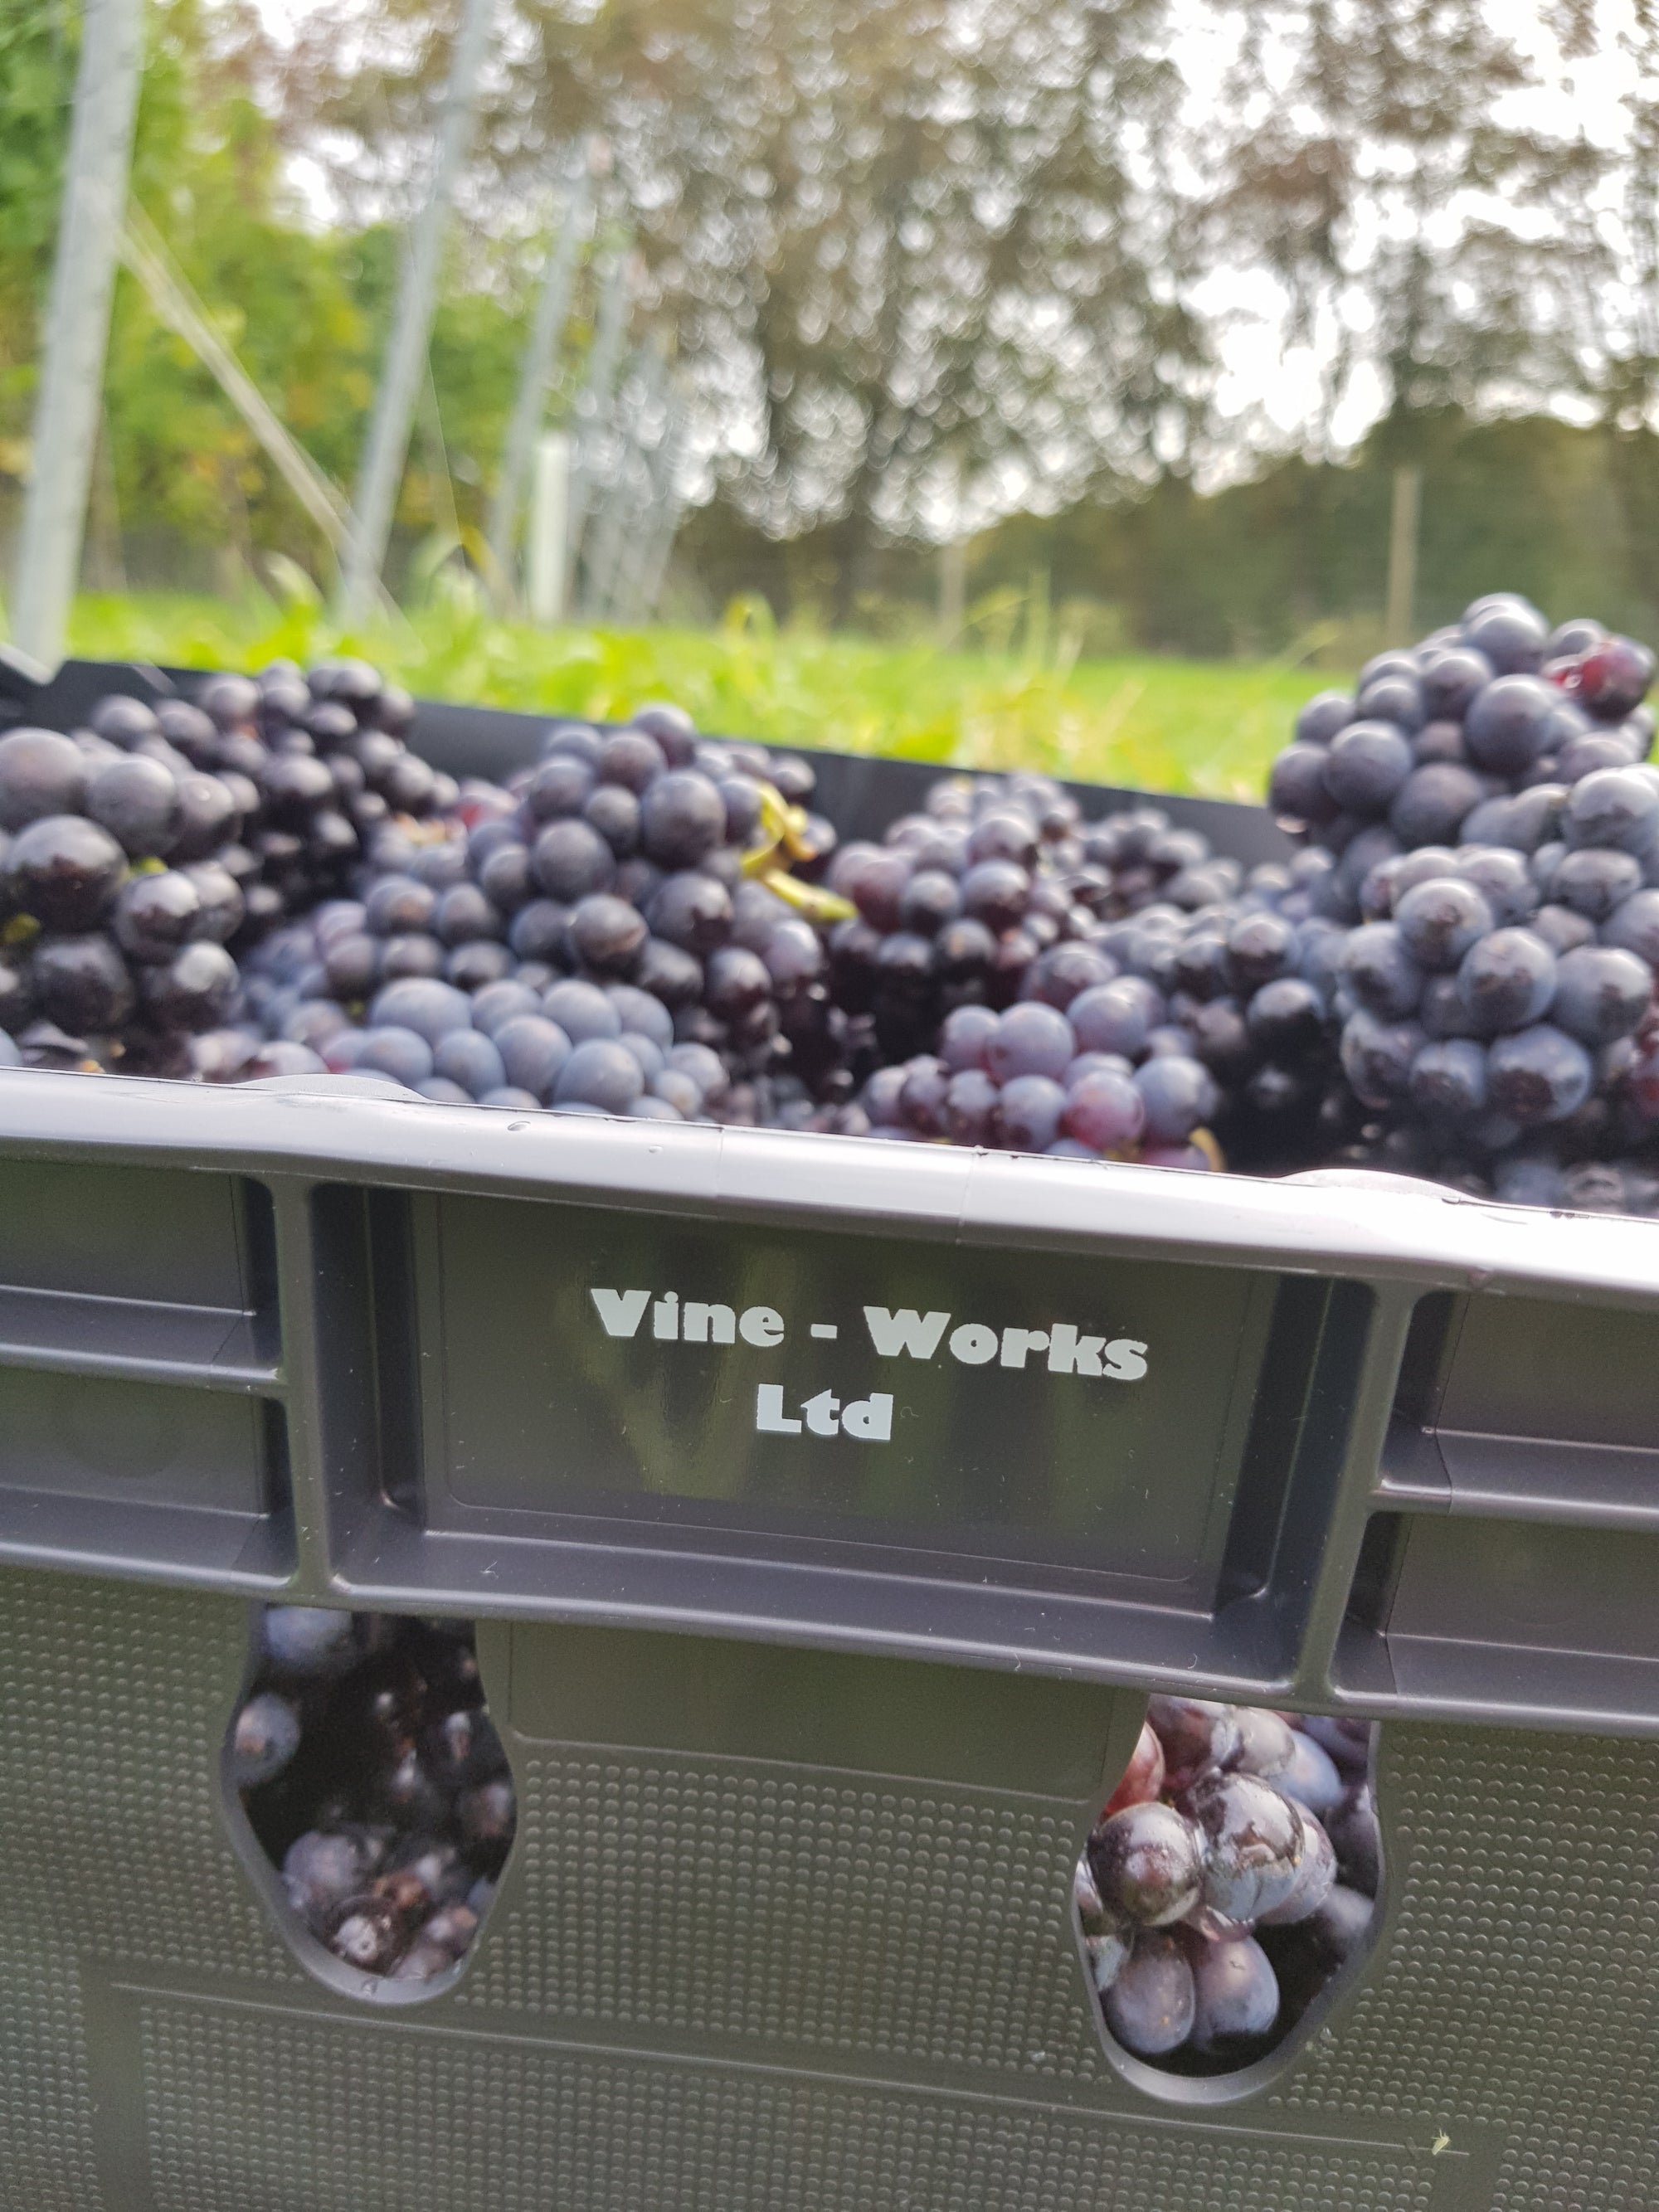
◆ Harvest – to do or not? Depending upon the season, the vigour and crop load of the vines might mean there is the potential for a small harvest. This is a judgement call to make just after flowering as to whether to drop the fruit or not.
Whilst it’s not always a smooth ride, mother nature will inevitably throw some curveballs into the mix, but following these basic rules will get your vineyard safely, healthily to the beginning of year 4 and that first true cropping season, one vine at a time. Here at VineWorks we look forward to tasting the results!